Creating a polished and professional invitation letter can set the tone for any event. Whether you’re planning a corporate gathering, a wedding, or a simple social event, MS Word offers a range of features to help you design an impressive invitation. This guide will walk you through the process of creating a standout invitation letter in MS Word, incorporating advanced techniques and tips to enhance your design.
Introduction
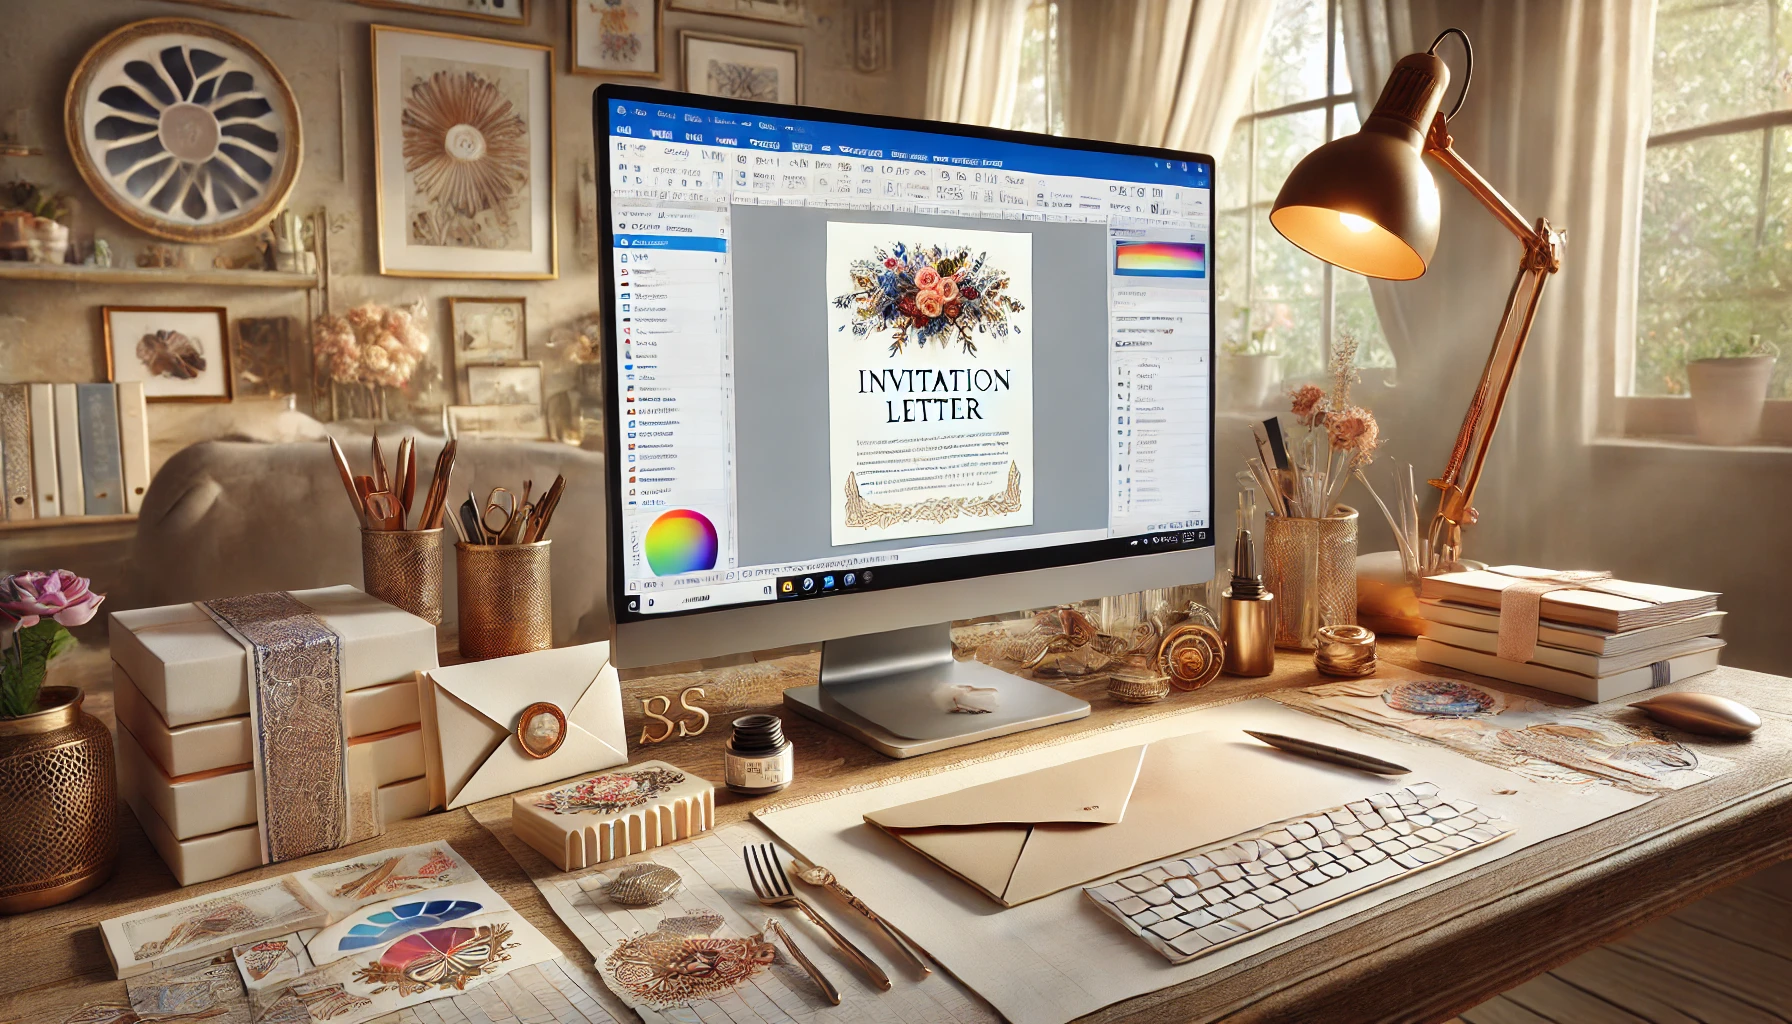
An invitation letter serves as the first impression of your event. A well-designed invitation not only conveys the necessary details but also reflects the theme and tone of the occasion. MS Word is a versatile tool that allows you to create customized invitations with ease. This guide covers everything from basic setup to advanced formatting and customization options, ensuring your invitation stands out.
Getting Started with MS Word
1. Setting Up Your Document
Before diving into design, it’s essential to set up your document correctly:
- Open MS Word: Start by opening a new document in MS Word.
- Choose Document Size: Go to the Page Layout tab, click Size, and select Custom Size. For most invitations, a size of 4 inches by 6 inches is appropriate. To set this:
- Click on Page Layout.
- Select Size and choose More Paper Sizes.
- Enter 4 inches for Height and 6 inches for Width.
- Click OK.
2. Designing the Invitation
Creating and Formatting Text Boxes
Text boxes are crucial for organizing content in your invitation. Here’s how to create and format them:
- Insert Text Boxes:
- Go to the Insert tab and select Text Box. Choose a style or draw one manually.
- For a title text box:
- Draw the text box.
- Click on it to select it, then right-click and choose Format Text Box.
- Set Height to 1 inch and Width to 3.25 inches.
- Remove the border by selecting Colors and Lines and choosing No Line.
- Adding Content:
- Click inside the text box and type the title of your invitation. Use a large, bold font to make it stand out.
Formatting the Body Text
- Insert Another Text Box for the main body of the invitation.
- Draw the text box and format it with a height of 2.75 inches and a width of 4.15 inches.
- Choose a clear, readable font for the body text. For formal invitations, consider using fonts like Times New Roman or Garamond.
- Formatting Tips:
- Align text properly with margins.
- Use bullet points or numbered lists for key information such as date, time, and venue.
- Apply consistent formatting to headings and body text.
Customizing Borders and Backgrounds
- Set a Border:
- Click on the text box, go to Format, then Shape Outline, and select a color and style for the border.
- Choose between solid, dashed, or dotted lines based on your design preference.
- Add a Background:
- Select the text box, go to Format, and choose Shape Fill to apply a color or gradient.
- For a more dynamic design, you can insert an image as the background by selecting Insert > Pictures and positioning the image behind the text.
Advanced Design Techniques
1. Using Templates
MS Word offers several invitation templates that can be customized to fit your needs. To use a template:
- Go to File > New.
- Search for “invitation” in the template search bar.
- Select a template that suits your event and customize it with your information.
2. Adding Visual Elements
- Inserting Images:
- Use high-resolution images to enhance your design. Go to Insert > Pictures and select an image from your device or an online source.
- Position and resize images as needed, and use the Wrap Text feature to integrate them seamlessly with your text.
- Using Shapes and Icons:
- Add shapes or icons to highlight key details or enhance the visual appeal. Go to Insert > Shapes and choose from various options.
3. Ensuring Professional Quality
- Proofread Carefully:
- Check for spelling and grammar errors. A well-proofread invitation reflects professionalism.
- Print a Test Copy:
- Print a test copy to ensure colors and formatting appear as expected. Adjust settings if needed before printing the final batch.
Examples and Case Studies
1. Formal Event Invitation
For a formal event such as a wedding or corporate function, use elegant fonts and a simple color palette. Consider adding a monogram or emblem to enhance sophistication.
2. Casual Event Invitation
For a casual gathering, use vibrant colors and playful fonts. Incorporate fun graphics or illustrations to match the event’s tone.
Interactive Elements and Downloadable Resources
- Interactive Guide: Offer an interactive guide or video tutorial on creating invitations in MS Word. This could include tips on using specific features or advanced design techniques.
- Downloadable Templates: Provide downloadable templates for different types of invitations. Ensure these templates are easy to customize and include instructions for use.
Conclusion
Creating an invitation letter in MS Word can be a rewarding process when you know how to leverage its features effectively. By following this comprehensive guide, you can design invitations that are both visually appealing and professionally crafted. Remember to utilize advanced techniques and customize your design to fit the theme of your event, ensuring your invitation leaves a lasting impression.